MADE IN THE USA | FREE SHIPPING IN THE USA
MADE IN THE USA | FREE SHIPPING IN THE USA
Typically found in charcuteries or smaller or local butcher shops or international markets. Make sure to use skin within 3 days of purchase, as the high moisture content makes it subject to quick spoilage.
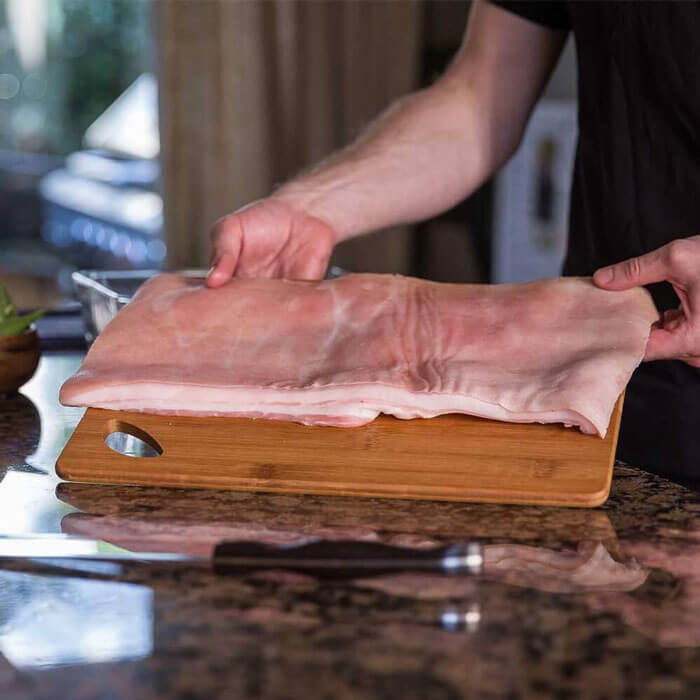
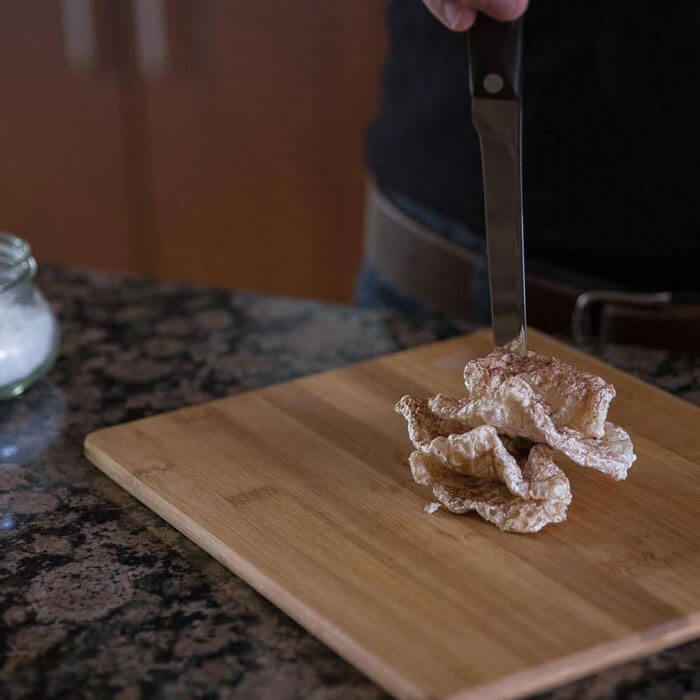
Cut skin into small squares roughly 1" x 1". Each one of these squares will become a singular rind. This process is harder than it looks - pork skin is VERY tough and best cut with sanitary kitchen shears.

Boil water in a pot sized to accommodate your skin squares. Add skins carefully once water is boiling. Let the skins boil for about one hour.
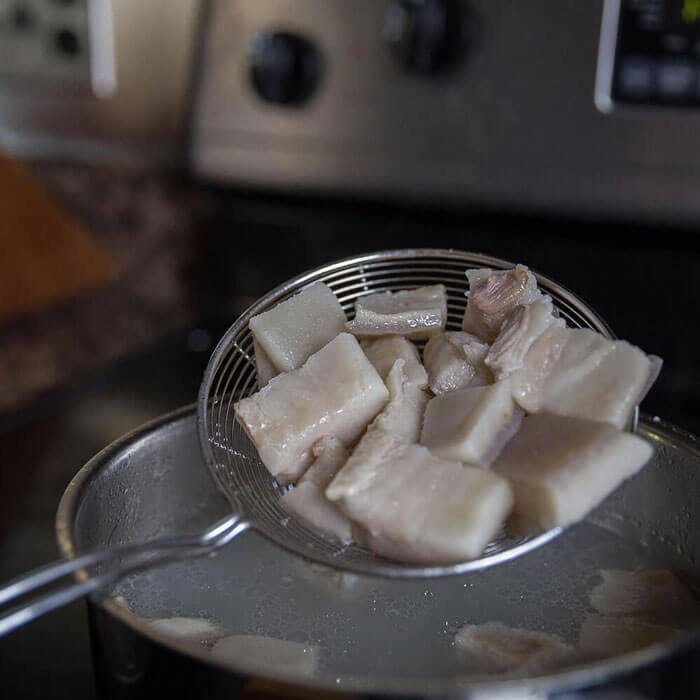
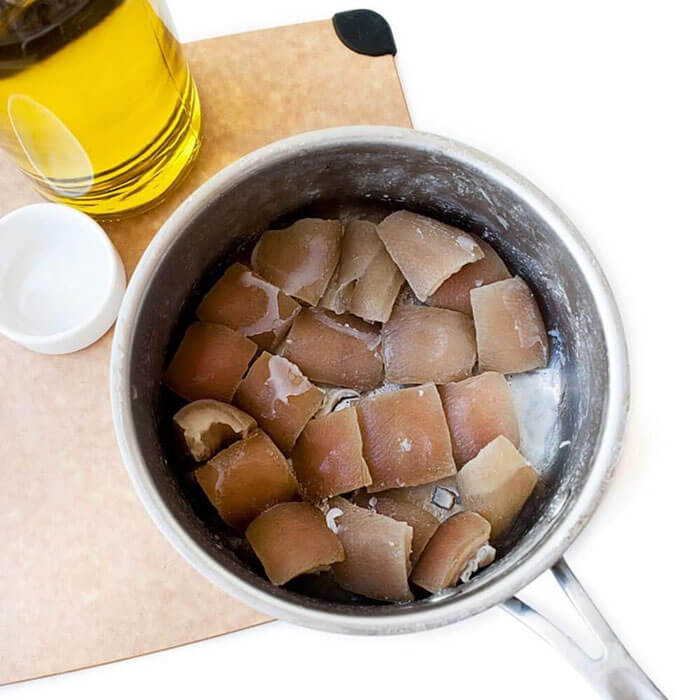
After skins have been boiled, pour out water and allow them to cool down and place in refrigerator for 4 hours or longer. This will solidify the layer of fat beneath the skin
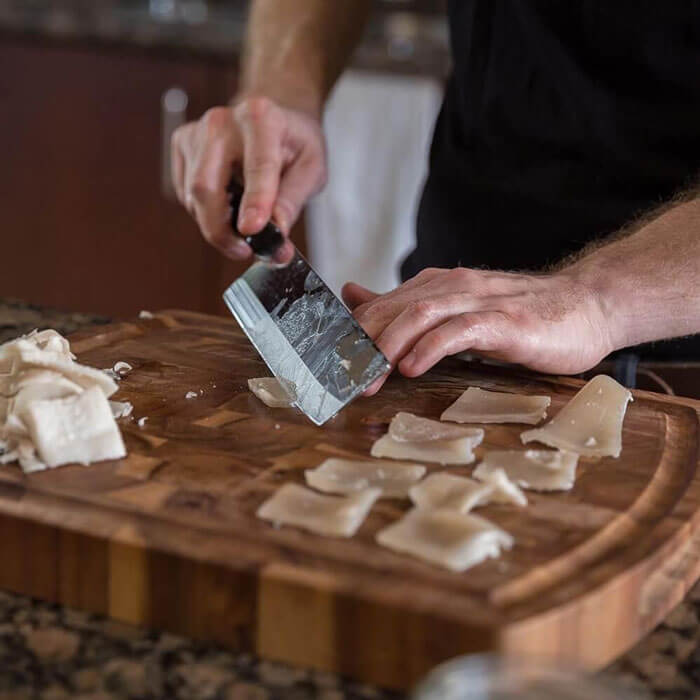
Cut off the fat from each skin piece starting with a knife and scraping with spoon like tool. Pork Rinds are made of pork skin. This step is the difference between "Pork Cracklins" and Pork Rinds. If you left the fat on at this stage, you would end up with a Cracklin.
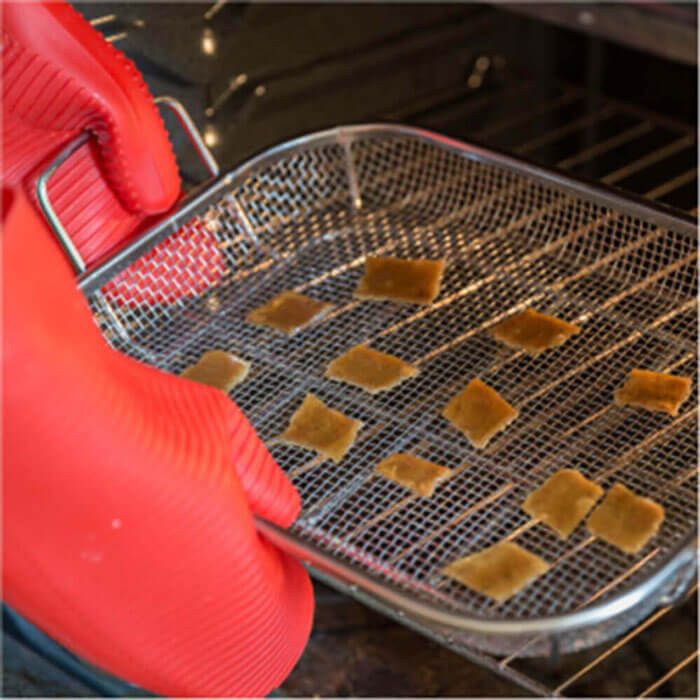
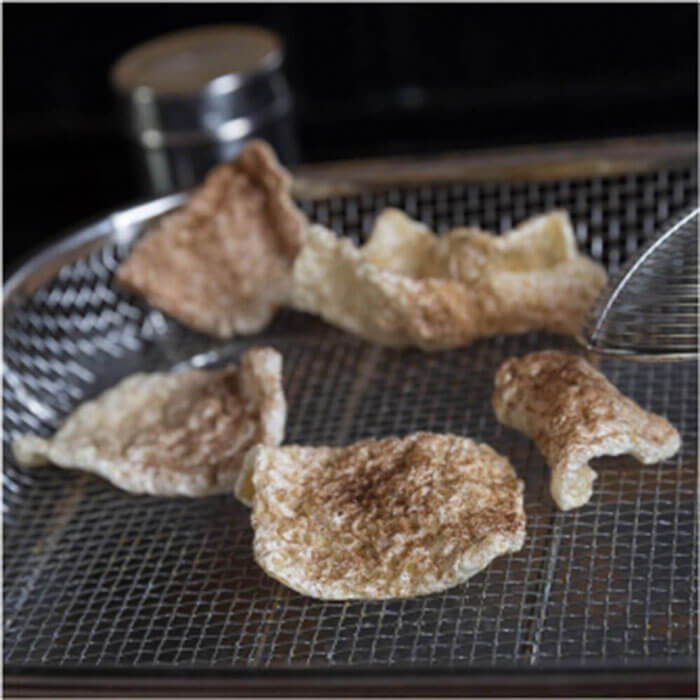
Place all skins spaced apart as much as possible facing down on a mesh tray with a pan underneath.
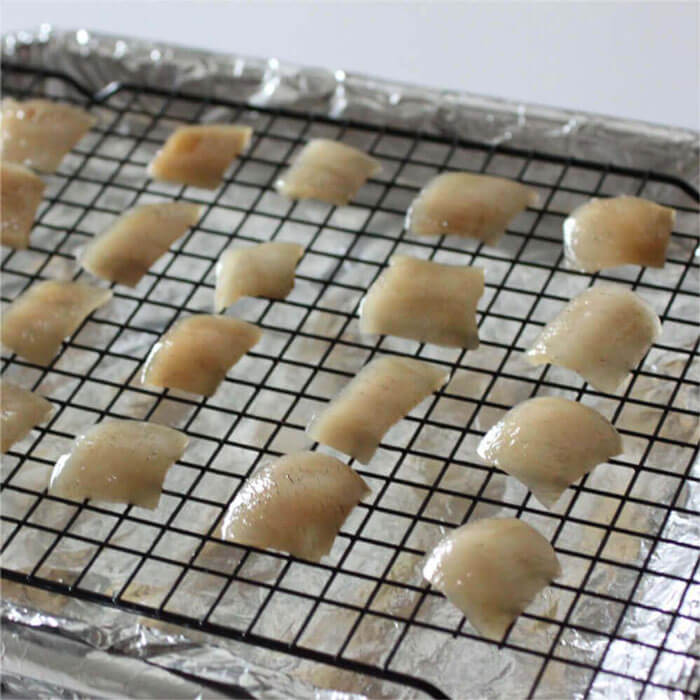
Set your oven to a low temperature - setting 170˚-180˚F is ideal - and leave the door cracked. This allows air to circulate and carry away the moisture in the skins. Total drying time should be approximately 8 hours or overnight with a convection oven - add 2 hours for ovens without convection. You can also use a dehydrator for this step - just dehydrate the skin as you would any other food. Pork skins puff when fried because they have been dehydrated to the point that there is only a small amount of water remaining in the skin. When skins hit the fryer, this water turns to steam and puffs the skins.
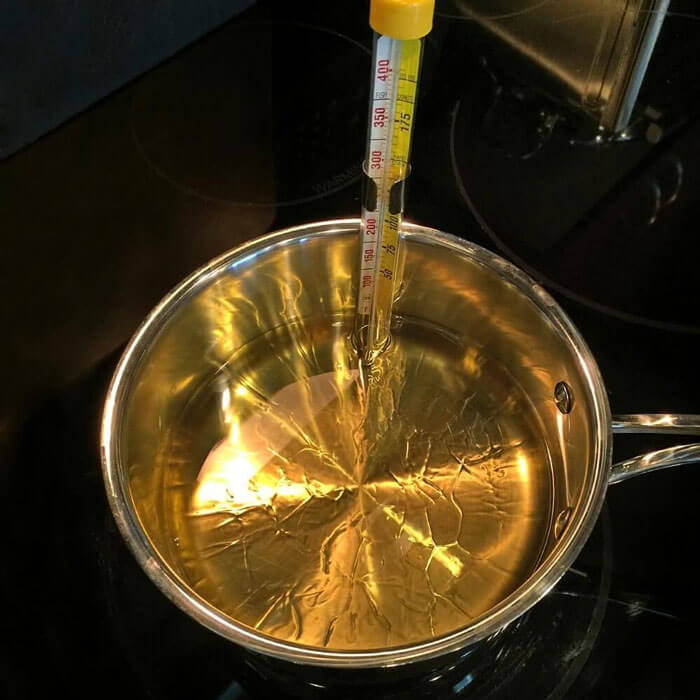
Fill a fryer or stainless steel pot with your chosen frying oil. If using pot, make sure to add a thermometer to monitor oil temperature - if it smokes it is absolutely too hot! Heat oil to around 400˚F. Set out nylon or stainless steel tools for placing the skin chips into the oil - other materials can melt.
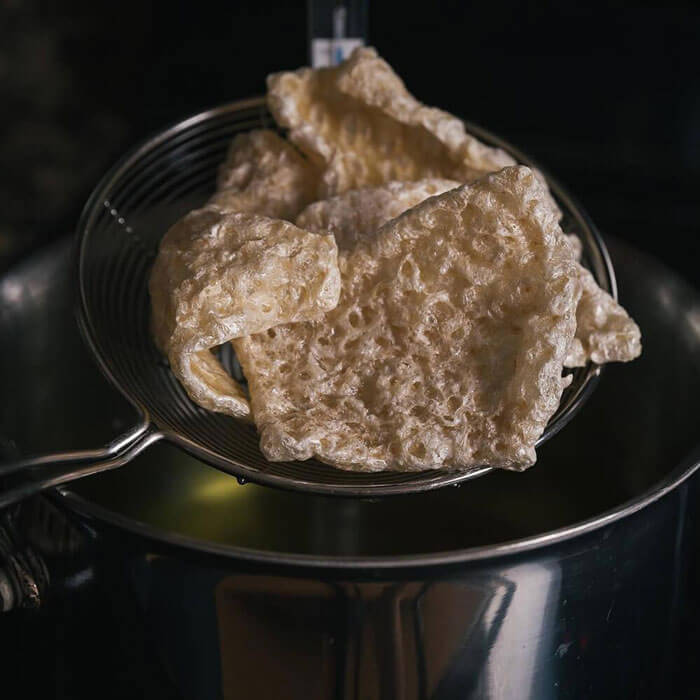
When oil reaches about 400˚F, gently add a few skins into your fryer or pot. The skins will begin to make popping noises after a few seconds and start to float to the top. When this happens, stir them around! You want the un-puffed areas to stay submerged in the oil until the entire skin has puffed up. Un-puffed areas will be chewy and hard rather than crispy.

When skins are completely puffed, remove them from the oil and place on the dehydrating try or similar grate surface. This allows excess oil to drip off and the skins to cool. Immediately use your shaker to season skins - seasonings only stick when they are hot.
While the puffs are cooling is the ideal time to season them. Seasonings stick much better when the oil is still hot.
You now have Pork Rinds. Get at 'em.
You could also just buy Pork Panko here...
